

How to create a social media content bank in Google Drive
Running a business as a freelancer, a creative, or small business owner can sometimes feel like juggling balls while someone (annoyingly) keeps throwing some extra balls at you.
You’re dealing with client work, replying to emails, keeping your accounts organised, doing the actual work that makes you money and trying to remember whether you posted on social media this week or at least create some content ideas.
Then another Monday arrives, and you think, “I really should post something today.”
But when you find that spare 5 minutes, you also find that your photos are buried somewhere in your camera roll, your captions are scattered across note-taking apps and notebooks, and the idea you had last week has completely disappeared.
But the good news is that there is an easy way to prevent it.
Quite simply, it’s called a social media content bank.
A content bank is simply a place where you store photos, captions, ideas, and videos so everything is ready when you need it. Instead of starting from scratch every time, you already have material organised and waiting.
And one of the simplest tools to build this system in is Google Drive.
Why Google Drive Works Well for Small Businesses
When you’re running a small business, having lots of complicated systems can quickly become just another source of stress.
Google Drive works well because it is simple, accessible from different devices, and easy to search.
It also becomes very helpful if you later decide to outsource work or hire a Virtual Assistant, because you can both access the same files and folders without endless email attachments filling up your storage.
Many of us already use Google Drive to store documents, photos, and videos, it's a perfect place for your marketing content, so you are all ready for mastering your self-marketing.
Let me show you how it works.
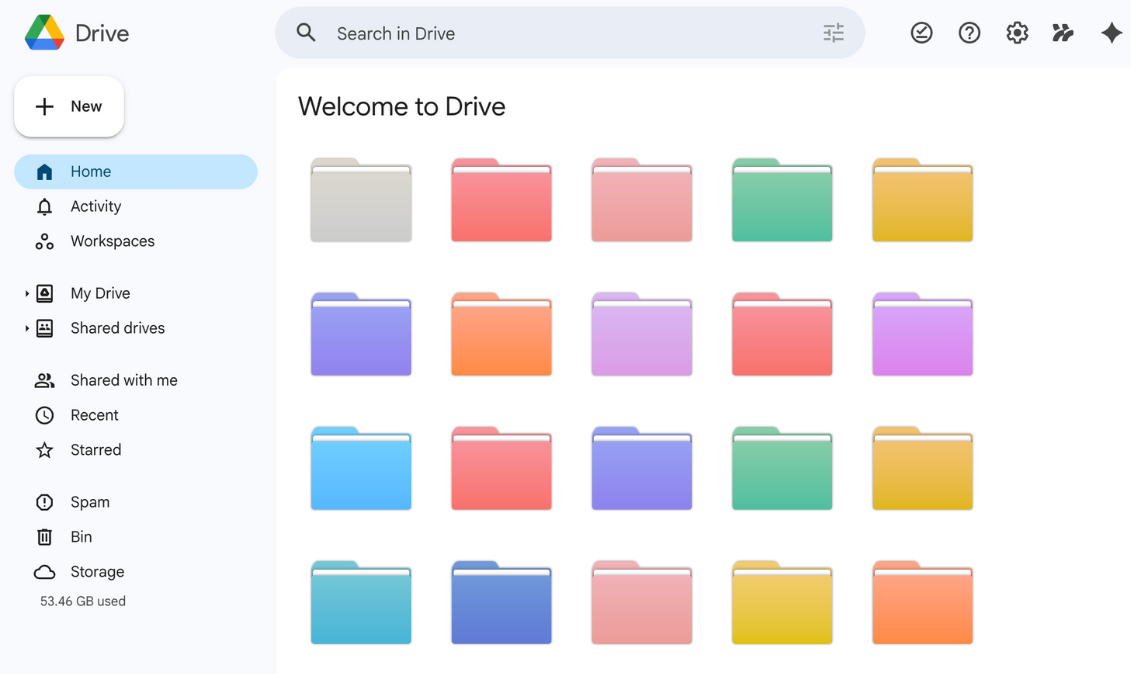
Step 1: Create a Clear Folder Structure
Your content bank should make your life easier, not harder.
If you need to click through endless folders just to find one image, you will stop using the system very quickly.
Start with one main folder called:
SOCIAL MEDIA CONTENT BANK
Inside that folder, create a few simple sections.
Graphics and Branding
Store your logos, brand colours, Canva templates and any graphics you use regularly.Photos
Create subfolders such as professional headshots, workspace photos and behind-the-scenes content.Video Clips
Short clips that can later be used in reels or short videos.Captions and Ideas
A document or spreadsheet containing post ideas and draft captions.Testimonials and Results
Screenshots of client feedback, case studies and positive outcomes.Finished Posts
Content that is completely written and ready to publish.Archive
Older content that you want to keep but no longer need in your main folders.
With this structure in place, finding things becomes far quicker.
Step 2: Build a Caption Library
One of the main issues people face with posting consistently is not knowing what to write about. This is where a caption library can help.
Instead of sitting down to write a post from scratch every single time, you already have ideas or old posts saved, and a Google Sheet works well for this.
You might include columns, on your spreadsheet such as:
Content Topic
Education, story, tips, promotional post.Opening Line
The sentence that catches attention.Main Caption
Your story, advice or insight.Call to Action
What you want readers to do next.Visual Suggestion
Which photo or video from your bank should accompany the caption.
Over time, this sheet will grow and become a very helpful resource.
Step 3: Organise Your Visual Content

Visual content is another big part of social media.
However, many people rely heavily on stock photos because they struggle to find their own images (that they took last month while out and about, and speaking from experience here)
So I suggest you start by going through your phone and moving useful photos into your Google Drive folders so they are not just stored in your phone photo albums.
Look for images such as:
your office, your home (if you work from home), co-working and networking spaces you go to.
any of you working with clients
behind-the-scenes moments
all the projects you are proud of
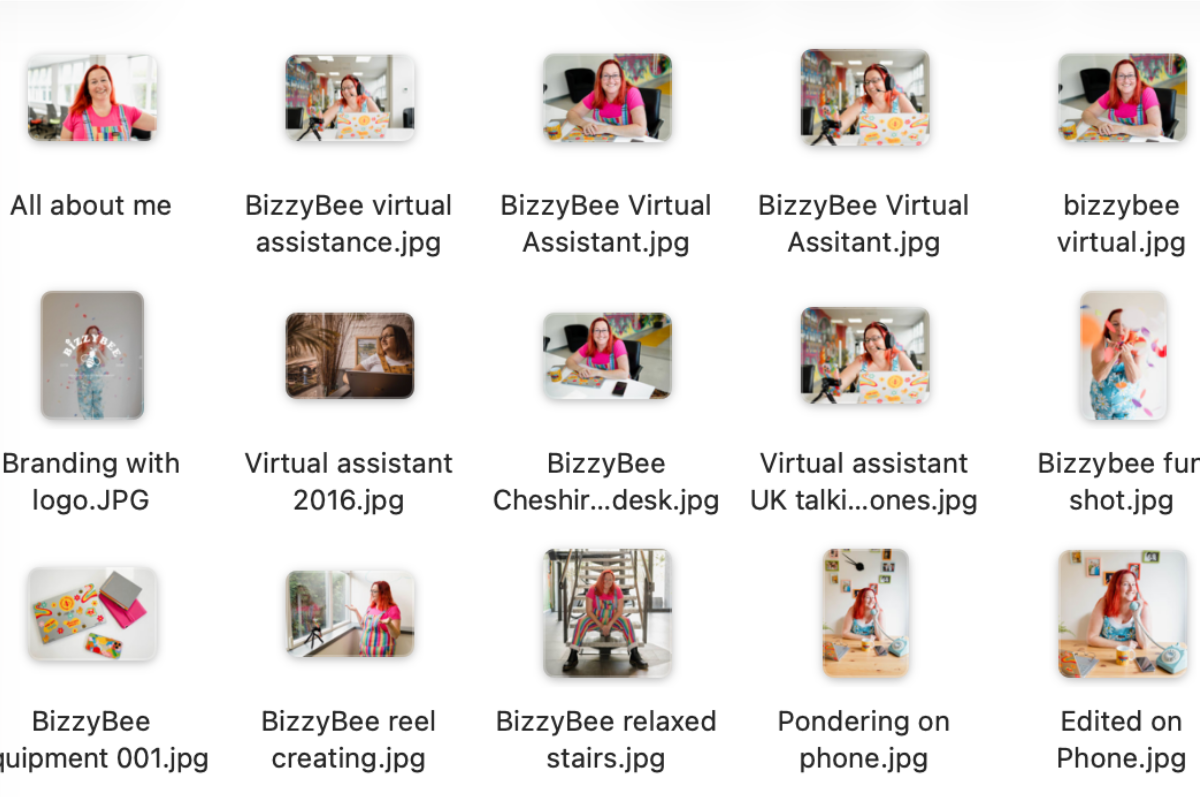
Then you need to rename your files with clear names so you know what they are and so they are easy to search later.
So please, instead of leaving a file called IMG_2934, rename it something like:
project-name-001 or
event-attending-001 and so on
This step, although it might be a pain when you are doing it, will save you a surprising amount of time later.
Step 4: Create a Small Video Clip Library
Short videos are used all the time on social media, but filming every day can be fricking exhausting and hard to remember to do!
Instead, spend one hour every couple of weeks recording clips from your workday, as an example, I could video myself…
answering emails
planning client work
setting up a new project
writing ideas in a notebook
I am sure you get the idea, but obviously adapt it to show off your business and then save these clips in your video folder.
When you want to create a reel later, you already have footage ready.
Step 5: Focus on Helpful Content
You do not need to post every single day to build your visibility, but one approach is to show off your skills when you do post.
Examples might include:
step-by-step guides to what you do, or how you onboard your clients
answering common client questions
addressing common misunderstandings in your industry
simple checklists that people can save will help them
Content that helps and benefits people can perform well because it is genuinely useful.
Step 6: Maintain Your Content Bank
Now, I want to be transparent and say a content bank is not a one-off project. Like with anything in your business, it will work best when you keep it tidy!
A good practice to get into is to set aside a few minutes once a month for a quick review of what you have.
This is when you can move your published posts’ assets into the archive folder, check links you have added to your captions, and update anything that feels outdated because we all know how quickly things can change in business.
Don’t get me wrong, I am not saying it needs to be perfect. It just needs to remain easy for you to use.
Start Small
After reading this blog, if you are already feeling overwhelmed (sorry if you are), then remember that you do not need to build everything today or even tomorrow. Just start by creating the main folder structure and over time gradually add your photos, your captions and your ideas as you go.
Even small steps will make social media far easier to manage over time.
Why a Content Bank Saves Time
When your content is organised, and like I said at the beginning, you are not wasting time searching for everything every time you want to post something. But it is more than that, because you can also reuse this beautifully organised content across your blogs, newsletters and other areas
Instead of always having to react at the last minute, you can plan your marketing more strategically and a lot more calmly.
And it gives you something every business owner needs more of, that all-important time to focus on the work you actually enjoy.
Need Help Getting Organised
If setting up systems like this feels overwhelming, you are not alone.
Many freelancers and creative business owners reach a point where they need a little help organising everything behind the scenes.
That is exactly where a small business virtual assistant can help.
From setting up your content systems to scheduling your social media, the goal is to give you back time and relieve your mental load so you don’t miss out on your marketing opportunities. You can learn more about how BizzyBee can help here